Beginner’s Guide to Stargazing Photography While Traveling
Capturing the magic of the night sky is one of the most memorable ways to relive your vacation — whether you’re camping in the mountains, staying at a glamping resort, or just enjoying a quiet night on the beach. This beginner’s guide will walk you through how to take stunning stargazing photos with your phone or DSLR camera, and how to choose the perfect dark sky location for your night photography adventure.
Finding the Perfect Dark Sky Location
The best stargazing photos start with finding the darkest skies possible. Here’s how to plan:
Check Dark Sky Maps: Use apps or websites like Light Pollution Map or Dark Site Finder to see areas with the least light pollution.
Visit Dark Sky Parks: Look for certified International Dark Sky Parks and Reserves. In the U.S., places like Glacier National Park, Grand Canyon, and Big Bend are famous for clear, star-filled nights.
Go Rural: Even outside designated parks, rural areas far from city lights can offer excellent conditions.
Check the Moon Phase: Aim for new moon nights when the sky is darkest.
Plan Around Weather: Clear skies make all the difference — check local forecasts before heading out.

Milky Way at The Hohnstead Glamping Cabins
Stargazing Photography with Your Phone
Modern smartphones have come a long way, and you can absolutely get beautiful night sky shots with a few simple tips:
Use Night Mode or Pro Mode: Most newer phones have a night mode or manual (pro) setting. Choose a longer exposure time (8–30 seconds) and keep the ISO as low as possible to reduce noise.
Keep Your Phone Steady: Use a small tripod or even rest your phone on a stable surface like a rock or railing. This is essential for clear, sharp photos.
Manual Focus: If available, set the focus to infinity (∞) to make sure stars are sharp.
Turn Off Flash & HDR: These features won’t help in the dark and can wash out the stars.
Experiment: Try capturing silhouettes of trees, mountains, or cabins to add foreground interest and a sense of place.

Night sky image with Samsung Galaxy S21 at The Hohnstead Glamping Cabins
Stargazing Photography with a DSLR or Mirrorless Camera
If you’re traveling with a DSLR or mirrorless camera, you can unlock even more creative options:
Use a Wide-Angle Lens: Lenses between 14mm–24mm are perfect for capturing expansive night skies.
Set to Manual Mode: Start with settings like ISO 1600–3200, aperture as wide as your lens allows (e.g., f/2.8), and shutter speed between 10–20 seconds.
Use the 500 Rule: Divide 500 by your lens focal length to get the maximum exposure time before stars start to trail. For example, with a 20mm lens: 500 ÷ 20 = 25 seconds.
Manual Focus on Stars: In live view, zoom in on a bright star and adjust focus until it’s sharp.
Shoot RAW: This gives you more flexibility to edit shadows and highlights later.

Night Sky at The Hohnstead Glamping Cabins near Missoula, Montana
Recommended Settings for Stunning Night Sky Photos
While your exact settings may vary based on location and equipment, here’s a solid starting point you can try on your next stargazing night:
Use Manual (M) Mode: Gives you full control over exposure.
Aperture: Set to the widest your lens allows (e.g., f/2.8 or f/3.5) to let in as much light as possible.
ISO: Start with ISO 1600–3200; higher ISO brightens the stars but may add more noise.
Shutter Speed: Try 10–20 seconds. Longer exposures capture more stars, but too long can cause star trails. Use the 500 Rule to help: 500 ÷ focal length (e.g., with a 20mm lens → 500/20 = 25 seconds max).
Focus: Switch to manual focus and set it to infinity (∞). Use live view to zoom in on a bright star and fine-tune until it looks sharp.
White Balance: Start with daylight or auto; you can adjust in editing later.
For smartphone night shots: Use night mode or pro/manual mode if available. Set ISO around 800–1600, exposure time around 8–15 seconds, and keep your phone perfectly steady with a tripod or stable surface.
These settings are just a starting point — experiment a little, review your shots on the spot, and adjust as you go. The magic of night photography comes from playing with the light and discovering what works best under your sky.

Night sky taken from The Blind Cabin at The Hohnstead Glamping Cabins Resort.
“For my part I know nothing with any certainty, but the sight of the stars makes me dream.”
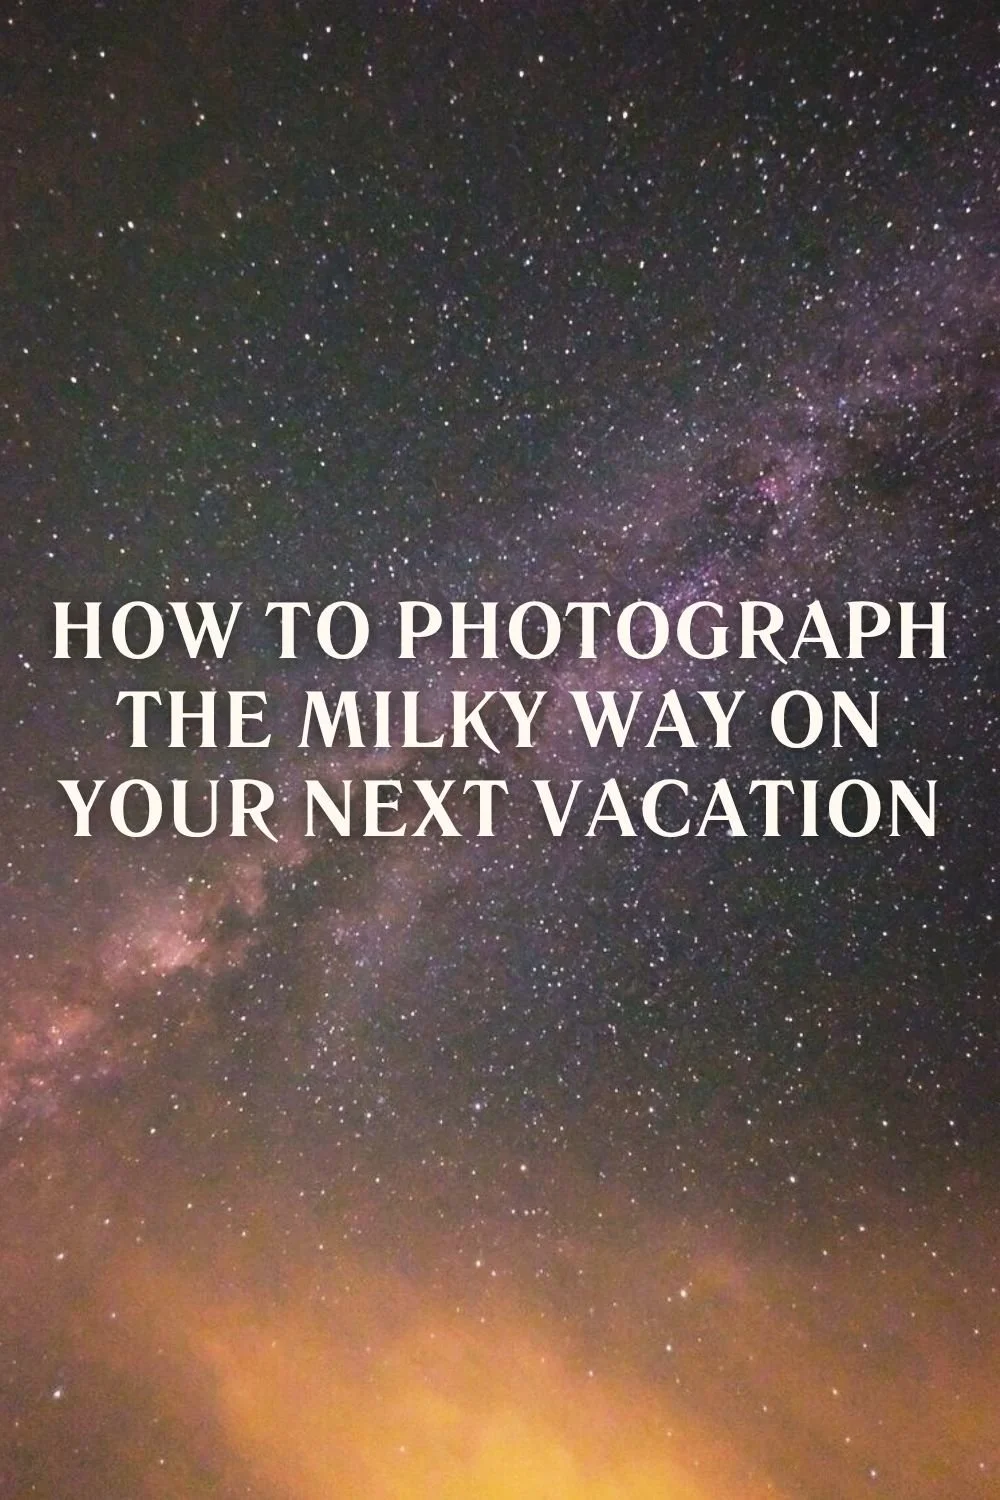
What Is the Milky Way & When to See It
The Milky Way is our home galaxy — a swirl of about 100 billion stars stretching across the sky. When most people talk about seeing the Milky Way, they really mean spotting its bright, dusty core in the constellation Sagittarius.
BEST TIME TO SEE THE MILKY WAY
Summer nights (June–August): The Milky Way core is visible most of the night and looks brightest.
Spring (March–May): It rises a few hours before sunrise.
Fall (September–November): Best seen in the early evening before it sets.
Winter (December–February): The core is hidden below the horizon and not visible.

Milky Way at The Hohnstead Glamping Cabins near Missoula, Montana
TIPS FOR BEST VIEWING THE MILKY WAY
Pick dark sky locations, away from city lights, and make sure your southern view is unobstructed.
Go during the new moon for the darkest skies.
Use free apps like Stellarium or The Photographer’s Ephemeris to plan times and directions.
Remember: in the northern hemisphere, the Milky Way stays lower in the southern sky, so head south if you can for an even better view!

Photographing The Milky Way through Aurora Borealis at The Hohnstead Glamping Cabins
Shooting the Night Sky During a Magnetic Storm
One of the most magical surprises you might catch while stargazing is the aurora borealis (Northern Lights). These colorful waves of green, pink, and even purple light dance across the sky during geomagnetic storms, when solar particles collide with Earth’s atmosphere.
WHEN AND WHERE TO SEE THE AURORA
The best chance is during periods of high solar activity (watch for Kp index 5 or higher).
They’re usually visible in northern latitudes (Montana, Alaska, Canada, Scandinavia), but during strong storms, they can be seen much farther south.
Use apps like Aurora Forecast or check NOAA’s Space Weather Prediction Center to track real-time alerts.


Bringing Your Night Sky Photos to Life: Post-Processing Tips
Even the best stargazing photos often look a bit flat straight out of the camera — and that’s perfectly normal! Editing helps bring out the beauty you saw with your own eyes. Here’s how to get started:
Use Apps or Software: Free and beginner-friendly tools like Snapseed, Lightroom Mobile, or VSCO work great for phones. For DSLR shots, desktop programs like Lightroom or Photoshop offer more control.
Adjust Exposure & Contrast: Boost exposure slightly to brighten stars, then add contrast to make them pop against the dark sky.
Enhance Colors Carefully: Increase vibrance or saturation to bring out subtle blues and purples of the Milky Way, but avoid overdoing it so your photo still looks natural.
Reduce Noise: Night photos often have grain. Use noise reduction tools gently to keep your stars sharp.
Straighten & Crop: Level the horizon and crop creatively to highlight interesting parts of the sky or foreground.
Editing is part of the fun — a creative step that turns a simple snapshot into a frame-worthy memory. And remember: there’s no single “right” way, so play around and see what style you love.
Ready to capture the night sky in comfort? Book a stay at one of our stargazing cabins — The Stargazer, The A-Frame, or The Blind (featured below), where you can watch constellations dance above you right from your pillow. Wake up to forest views, fall asleep under a blanket of stars, and make your next vacation truly unforgettable.