A Complete Guide to Make Kombucha Tea Drinks at Home
Are you tired of spending a fortune on store-bought kombucha?
Well, join the club!
I felt the same way until I discovered the joy of making my own kombucha at home. Not only is it cost-effective, but it also opens up a world of creative possibilities. Let's dive into the exciting world of kombucha brewing, from Scoby to flavored concoctions, cocktails, dog treats and jerky!
What is Scoby?
First things first, what on earth is a Scoby? Scoby stands for Symbiotic Culture of Bacteria and Yeast – a fascinating living organism that kickstarts the fermentation process in kombucha. It's like the magic behind the scenes.
When getting or borrowing a Scoby, remember it should be at least 5 inches wide, obtained from a reputable supplier, and come with a full cup of starter liquid.

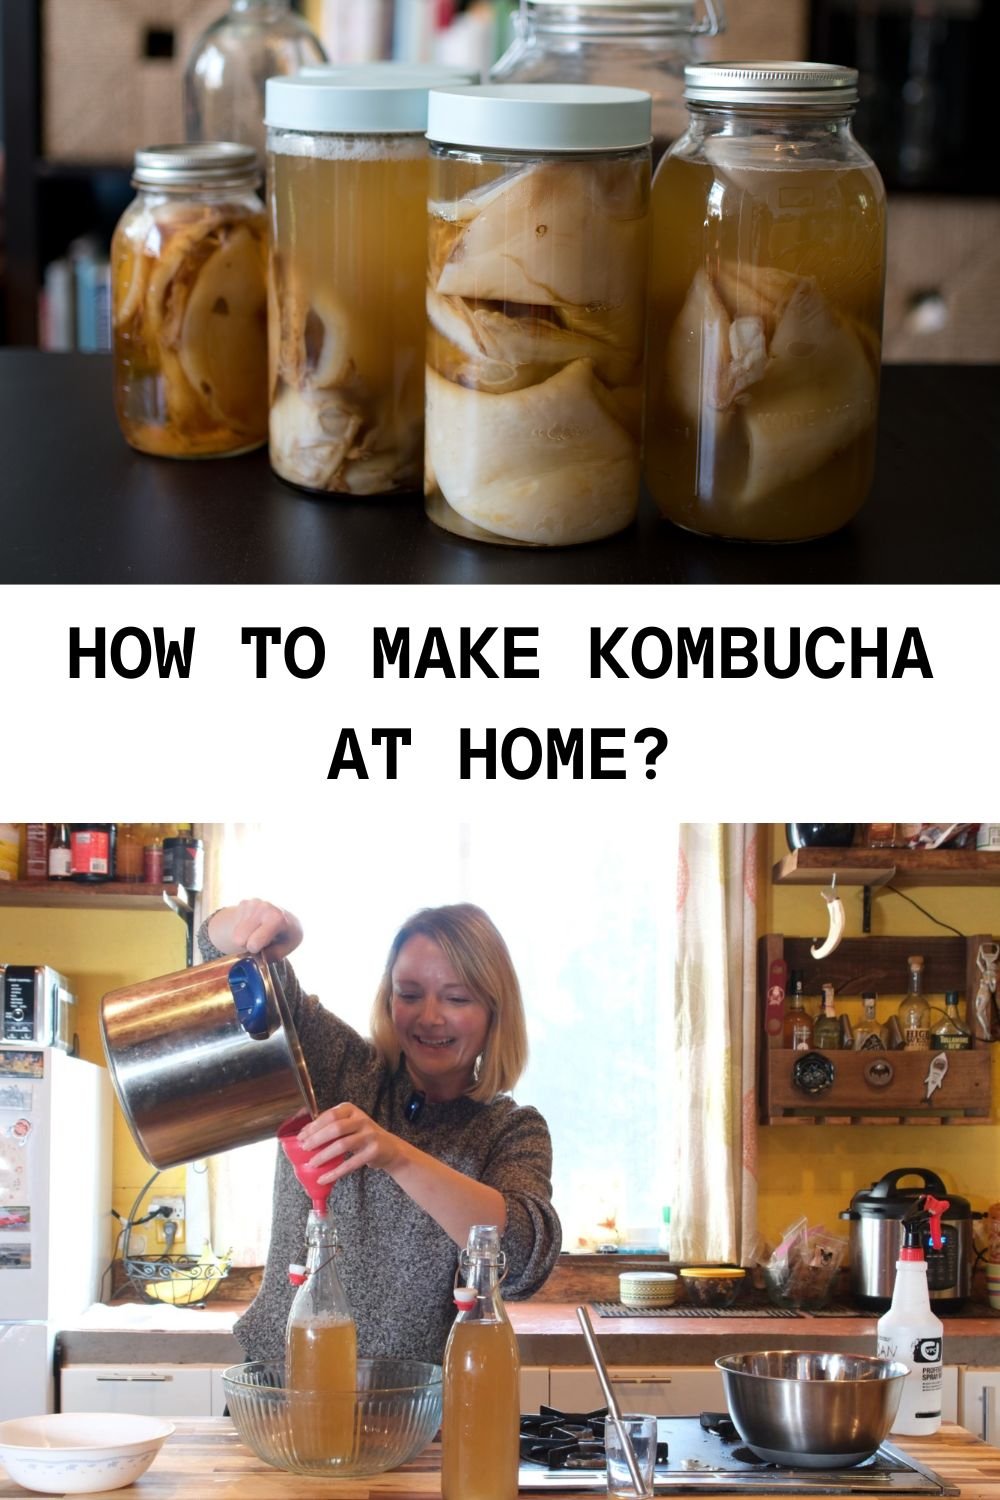
Scobies inside my Scoby Hotel
Scoby Dos and Don'ts
Dos: Get a healthy, wide Scoby from a trusted source with proper instructions and starter liquid.
Don'ts: Avoid dehydrated Scobies, tiny test tube-sized ones, or those grown from a commercial bottle.
Benefits of Kombucha Drinks
Sure, drinking kombucha is fantastic for introducing good bacteria to your gut through fermentation. But did you know there are other innovative uses for Scoby and kombucha?
From Scoby jerky and sashimi to facial toners and kitchen cleaners, the possibilities are endless.
Check out "The Big Book of Kombucha" for a treasure trove of ideas and recipes.
Scoby Hotel
Ever heard of a Scoby hotel? It's not a vacation spot, but a term for keeping extra Scobies in your fridge. These extras come in handy for gifting, experimenting with doggy treats, or crafting skincare products. And, if your batch goes south, having a fresh Scoby from your Scoby hotel is a lifesaver.
Importance of Sanitization
A note from the beer brewing world – sanitize everything! Use a necessary sanitizer like Starsan (normally available in any homebrew store near you), and don't be afraid to touch and handle your Scobies. They're soft, squishy, and almost jellyfish-like. Proper sanitization of ALL the bowls, pots, utensils, and even hands ensures a healthy fermentation process.
first fermentation - let the brewing begin
As you will see in the video below, making a new batch of Kombucha requires the making of a sweet tea. When making a 1-gallon batch, make sure to use 1 gallon of chlorine-free water (the quality of your water is less important if you’re just starting). The quality does play a role if your Kombucha batches start to develop mold, scroll below on how to fix that.
When your pot of water comes to a boil, add 1 cup of white or brown sugar, stir to help the sugar melt and evenly distribute. Add 6 packets (or 1-2 tbs of looseleaf tea). I use UncleLee’s Organic packets of tea, which is my secret ingredient when making Kombucha since the majority of brewers prefer black tea instead. The flavor of Green Tea Kombucha to me is more subtle, lovely, and fresh.
Turn off your pot, remove the tea packets/tea, and let it cool.
Do not add scoby to the hot sweet tea you’ve just brewed, because you can kill it, and its awesome probiotic bacteria that live in it.
Your first fermentation officially begins when you combine the scoby and starter liquid with your cooled sweet tea.
Add the 1 cup of starter liquid (top liquid from the previous batch, or the liquid your scoby came with, or the liquid from inside your Scoby Hotel) on top of the Scoby that you’ve placed on top of your sweet tea. This way, starter liquid will help to seal your batch and hopefully prevent harmful bacteria from contaminating your newly created Kombucha batch.
Now, cover your pot with a breathable cloth (like cotton or cheesecloth) and place it in a safe, warm location, free of excessive smells or other pollutants that could potentially harm your Kombucha baby.
I swear by using a seed-starter heating mat and placing my pots on top of it, which helps to remedy the temperature swings we experience here in Montana.
Make a note to check (take a pick at your scoby to make sure it looks clear/white/healthy), smell, and taste your batch once a week. When it reaches the flavor you enjoy (not too sweet, not too sour), then you’ll be ready to drink it OR start my favorite process - the creative process of brewing Kombucha - Fermentation 2 step.
Dealing with Kombucha Mold

Image from YEABUCHA
Nobody likes mold, especially in kombucha. Keep your brew safe by placing it in a warm spot away from strong smells and potential irritants. If mold appears, it's time to start fresh with a healthy Scoby.

Second Fermentation - Flavor Explosion
After patiently waiting for your kombucha to brew, it's time for the exciting second fermentation. Feel the anticipation as you taste the slightly vinegary goodness. Ready for flavor experimentation? Blueberry and rosemary, anyone? Just be sure to leave some space at the top of the bottle for your creative additions.
During this step, you can leave your flavored bottles on your heated mat or in your original fermentation 1 location.
I usually put my flavored bottles directly in the fridge. Sure, the colder temperature inside the fridge will slow down the fermentation process, but I find that seeing them in the fridge, I’m reminded to burp them more frequently. And the flavors they take on in a couple of days are subtle and not overpowering. I keep tasting them every day or so to know when to remove the flavorings like pieces of fruit. If not removed, the sugars in the fruits will continue to ferment and feed the yeasts and increase the carbonation inside your bottles. Once again, burping your bottles (opening the bottles) is pivotal to avoid an explosion.
Here are some flavorful recipe ideas I’ve created in the past:


What are some of your favorite ways to flavor your Kombucha? Leave a comment below!
Burping Bottles and Beyond
Once your flavored creations are in the fridge, remember to burp them every few days to release built-up carbonation. This prevents kombucha bottle explosions and ensures a fizzy, delightful beverage.
Making kombucha at home is not just a money-saver; it's a journey of self-discovery and creativity. So, why not embark on your kombucha adventure today? Cheers to brewing fun at home!
If you have 10 minutes, here is a helpful video Garrett and I put together on his homebrewing YouTube channel, let us know if you have any questions in the comments. Cheers!
Pin and save!

Scoby in Kombucha Making

How to Make Kombucha at Home
Making Kombucha Tea Drinks at Home